
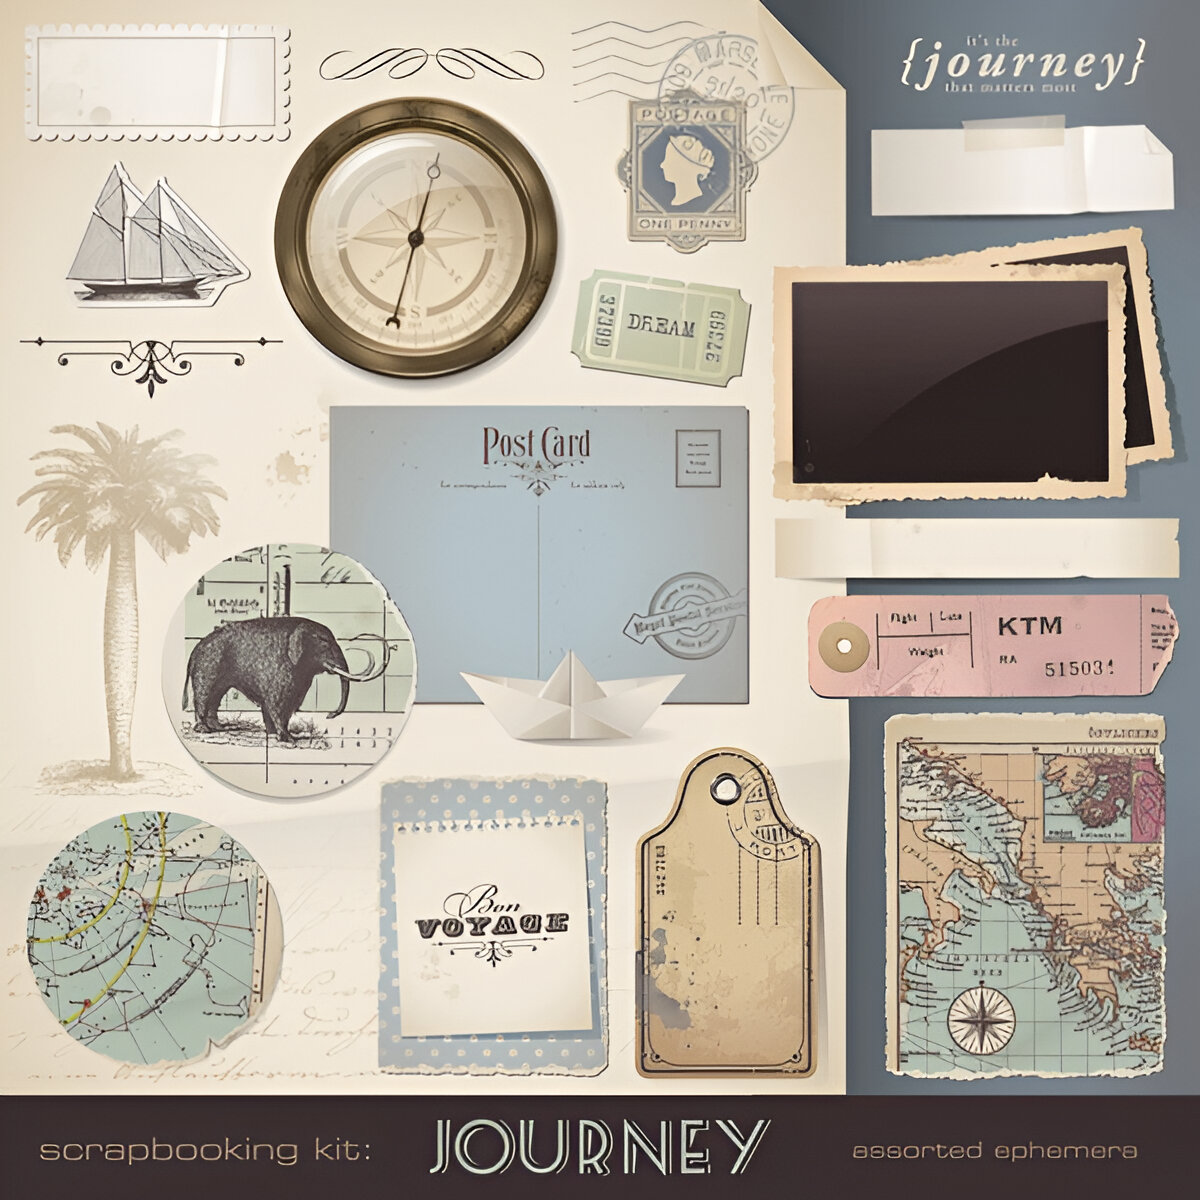
If you want to keep your memories in a fun and personal way, how to make Your own Scrapbook is a great idea. Scrapbooking lets you capture special moments with photos, keepsakes, and creative designs. Whether it’s a family trip, a celebration, or everyday life, scrapbooks ideas are a great way to remember and enjoy those memories. They offer a unique and meaningful way to relive the good times.
Starting a how to make your own Scrapbook may feel tricky at first. There are many choices, like picking materials and deciding on a theme or layout. But don’t worry—Creative scrapbooking is easy! With the right tools and a little help, you can create something beautiful to share your story.
In this guide, we’ll show how to make your own Scrapbook. We’ll help you pick the right supplies, plan your page layouts, and add personal touches to make each page special. Whether you want to create a scrapbook for yourself or as a gift, the process is fun and rewarding. Let’s get started and make something you’ll love!
The best part? Scrapbook for beginners is a fun hobby where you can be as creative as you want. You can keep it simple with just photos and captions, or add decorations, writing, and other details for a more detailed design. Whatever your style, scrapbooking is a great way to save your memories for the future.
By the end of this guide, you’ll have all the tips to how to make your own Scrapbook and save your favorite memories. Let’s get started!
Define Your Scrapbooking Goals
When you start how to make your own Scrapbook, it’s good to know why you’re doing it and what you want to achieve. For me, I have two main reasons. First, I want to enjoy it. Scrapbooking takes time, and if I didn’t love choosing papers, stickers, and arranging photos, it would feel like hard work. So, I make it fun! I try different designs and enjoy being creative without rushing. Scrapbooking isn’t just about the final book—it’s about having fun while making it.
Second, I want to finish albums. I feel happy when I complete a full scrapbook instead of just making random pages. My goal is to create books that show our family’s life each year, with important moments and special memories. I don’t include every photo, but I choose the key ones that tell our story. I like using more photos and fewer decorations so the focus stays on the memories.
Your goals for how to make your own Scrapbook might be different, and that’s perfectly fine! Before you start, take some time to think about what you want to get out of the experience. Do you want to create albums for each year, or are you more focused on certain events like vacations or holidays? Are you drawn to minimalist designs, or do you prefer a more embellished style?Having clear goals will make scrapbooking easier and more fun. Think about what you want in your first album—it’s your chance to make it special and personal!
Select the Right Album Size
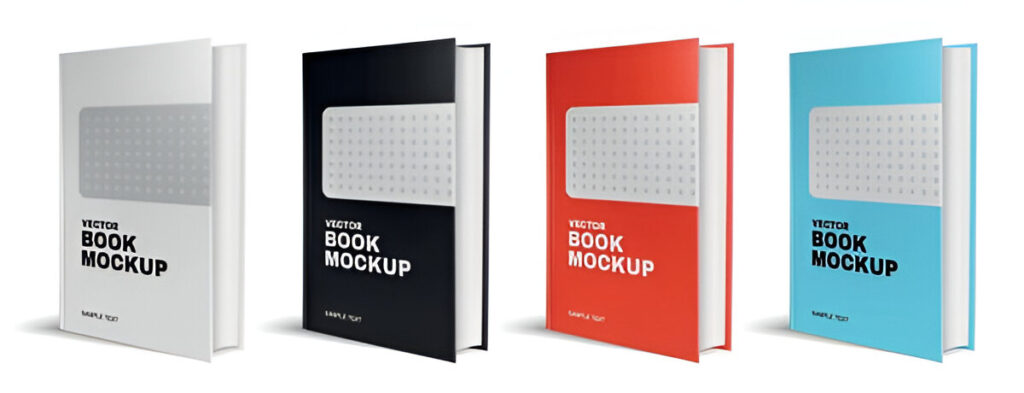
The next step in how to make your own Scrapbook journey is choosing the right album size. It may seem like a small detail, but it’s one of the most important decisions you’ll make. Over the years, I’ve experimented with various sizes—12×12, 8.5×11, 8×8, and even mini albums.The 12×12 size is the most popular and has many supplies available. But the best album size is the one that matches your style and how you want to display your memories.
After much deliberation, I finally settled on 8.5×11. There were two main reasons for this choice. First, I’ve worked with both square and vertical formats in the past, and I found that I preferred the vertical format. It allowed me to use full-bleed photos, which I love, without the need to crop them into squares. It gave my pages a cleaner, more cohesive look, and that felt like the best fit for my scrapbooking style.
The second reason, though a bit unusual, was that I wanted my albums to fit neatly on our bookshelf with other books. The big 12×12 albums stuck out too much, so I chose 8.5×11 as a good middle size. It was harder to find supplies and needed some adjustments, but it was worth it!
When choosing your album size, think about what you like and what feels easy for you.
- 12×12 albums are great for big photos and have many supplies available.
- 8.5×11 albums give a tall, clean look without cutting photos.
- 8×8 albums are smaller, quicker to finish, and easy to handle.
- Mini albums are perfect for special events and come in many styles.
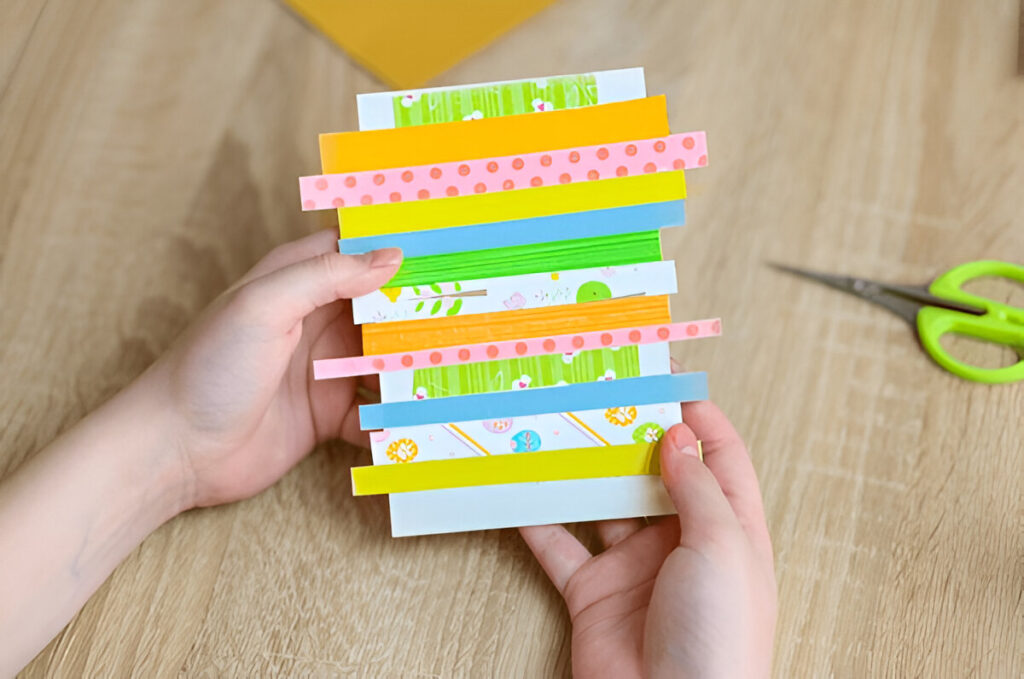
Design Your Scrapbook Layouts
Once you’ve chosen your album size and gathered your photos, the next step is to design your layouts. This is where you get to be creative and decide how your photos will be arranged on each page. For my first album, I kept it simple, using big photos and mixing my Instagram and DSLR pictures smoothly.
To do this, I came up with a few different layout designs that I repeated throughout the album. I found that simple layouts, with a lot of open space for photos, worked best for me. In the first four layouts, I printed my photos to fit perfectly on the page, then adhered them to white cardstock. I kept it minimal with a few stickers and handwritten notes to capture the memory behind each image. This approach was quick and easy, but it allowed me to showcase my photos in a clean and organized way.
For the fifth layout, I found a smart way to add my Instagram photos. I used page protectors with small 2×2 pockets (made for coin collections) to hold the tiny Instagram prints. This helped keep the photos safe without making the page too crowded. The last layout was a pocket page, which let me store many photos in one place, giving me variety and flexibility.
What I love most about my layouts is that they focus on the photos, with just a bit of space for decorations or notes. This way, I was able to fit a whole year of memories into one album, which was a big achievement!
Take some time to draw your own layouts that match your style and the number of photos you have. Leave space for writing or decorations if you like. Make sure your layout shows your personal touch and the story you want to share!
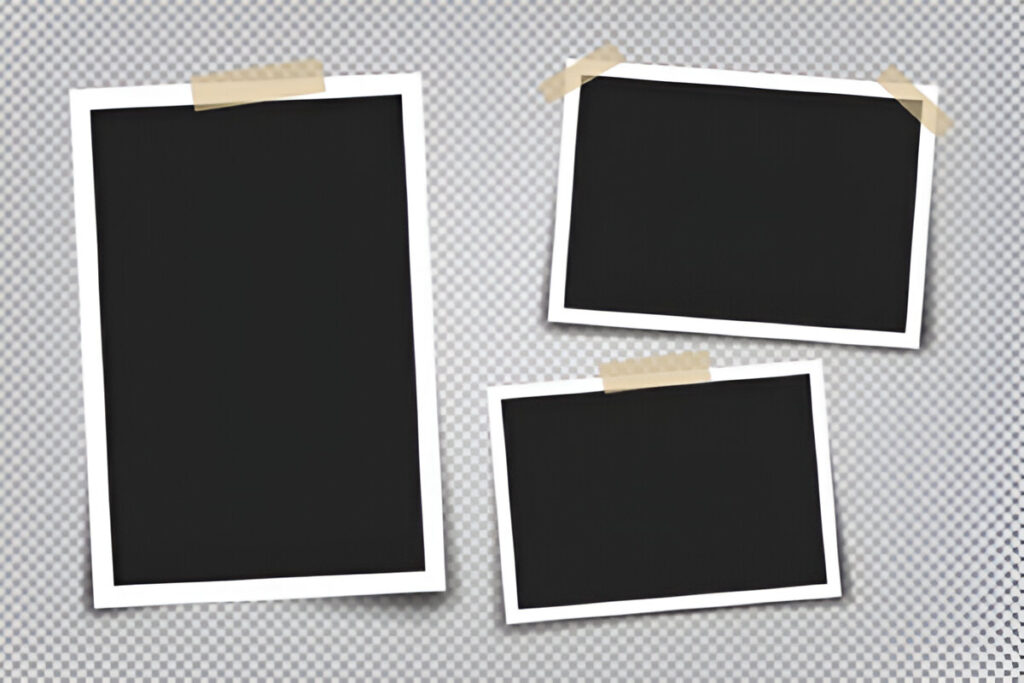
Printing Your Photos

After finalizing the layouts, the next step how to make your own Scrapbook is printing the photos. For me, this part was both exciting and a bit obsessive. I spent hours resizing pictures in Photoshop, making collages, and getting them ready to print. I used 13×19-inch photo paper for the larger prints, which gave my scrapbook a clean, professional look.
I used my Canon PRO-100 printer, and I have to say, it was a game-changer. The print quality was amazing—rich in color and with great contrast. Plus, it made printing larger photos so much easier. I ended up getting completely absorbed in the process. Once I started printing, I couldn’t stop. I even hauled the printer upstairs to my bedroom so I could print while watching TV with my partner. It became a routine—printing, watching shows, and waiting to see that stack of photos grow.
The best moment came when I laid out all the prints on our dining table. I spread them out in two layers to see everything clearly, and it felt amazing to see all my hard work come together. That moment was one of my favorites in the whole scrapbooking process—except, of course, for sharing the finished album with my partner!
Printing may seem simple, but watching your photos and scrapbook come together is really rewarding. Whether you use a professional printer or a home printer, take your time to make sure the quality is just right!
Assembling Your Pages

Once the DIY photo book were printed, putting the pages together was easy. I trimmed the photos, glued them to white cardstock, and placed them in pocket pages. I kept it simple, focusing on the photos and memories with a few personal touches. I added short journaling on most pages and only wrote long stories for special moments. It’s all about balancing photos and words.
One of my favorite parts was designing the title page. I wanted the album to feel like the start of a collection, so I decided to label it “Volume 1” and make it about our first year of marriage. I plan to continue this tradition with future albums, so each year has its own volume. This small detail helps create a sense of continuity and makes it feel like a complete story, year by year.
Next, I worked on our honeymoon pages—the start of our journey together. Unfortunately, I accidentally deleted a flash card with most of the photos (such a bummer!). So, I got creative and made a collage using SLR photos and Instagram snaps to show the vibe of our honeymoon. Even with fewer photos, this page still captures the happiness and excitement we felt.
For the next few pages, I documented our first home tour. We moved during our second year of marriage, and I’m so glad I took photos of each room at that time. It’s a beautiful way to remember our first house together. Many of these photos were also used for blog and Instagram posts. I always joke that getting Jeremy to take photos for the blog is just my sneaky way of getting extra pictures for scrapbooking! But in the end, I’m so thankful we did—it’s a memory preserved.
I added coin pages with small 2×2-inch pockets to hold photos, patterned paper, and notes. It’s a perfect spot for adding memorabilia, like ticket stubs or small keepsakes. It makes the scrapbook feel more personal and interactive.
I love the look of collages, and they became a staple for me. It’s an efficient way to fit more memories into one spread while keeping everything cohesive. Looking through the album now, I can’t imagine those photos sitting on hard drives forever. I’m so happy they have a physical place in our home.

The last pages have more big photos, and I finished the album with pictures from our one-year anniversary trip. It felt like the perfect way to wrap up our first year of marriage, even though it’s actually a little more than a year. I ended with a special, meaningful detail—constellation paper from the Project Life Sunshine Edition that we designed. It felt like the perfect way how to make your own Scrapbook finish this chapter.
Finishing the album felt amazing. It’s more than just a how to make your own Scrapbook; it’s the beginning of something I’ll keep forever. It shows I pushed past my excuse of “not having enough time” and created something meaningful. This album sits on my shelf, not just as a finished project, but as a real part of our story. I’m already excited to keep this tradition going!
What I Learned:
Through this how to make your own Scrapbook journey, I discovered a few things that I’m really excited to share. First, I realized that how to make your own Scrapbook can be mostly about the photos, and that’s something I truly love. It’s the memories that matter most, and sometimes, less embellishment allows the photos to really shine.
I also learned that it’s possible to make a beautiful album with a whole year’s worth of memories in just a few weeks. The process doesn’t have to take a long time, and breaking it into smaller steps helped me stay focused and enjoy being creative.
One of the most important things I learned is that I can make time for scrapbooking. It doesn’t need to be overwhelming or stressful—it’s about carving out a little space to reflect and create. Most importantly, this project sparked my love for taking more photos of the little moments in our life. It’s inspired me to keep capturing memories, big and small!
P.S. Enjoyed this post? Be sure to check out 5 Simple and Easy Scrapbooking Ideas for more inspiration!
FAQ: How to Make Your Own Scrapbook
Q.What do I need to start scrapbooking?
To start, you’ll need a scrapbook album, photos, scissors, glue, and decorative items like stickers or patterned paper.
Q.How do I organize my photos in a scrapbook?
Sort your photos by event or year, then choose the best ones to feature. Arrange them on the page before gluing them down.
Q.Can I use digital photos for scrapbooking?
Yes! You can print digital photos at home or through a photo printing service to use in your scrapbook.
Q.What should I write in my scrapbook?
You can write about the event or memory, add captions, or share personal thoughts and feelings. It’s up to you!
Q.How do I decorate my scrapbook pages?
Use stickers, patterned paper, stamps, and embellishments to add color and style to your pages. Keep it simple or go all out, depending on your style!
Conclusion: How to Make Your Own Scrapbook
Creating your own scrapbook is a great way to keep memories and tell your story. It lets you be creative while remembering the moments that mean the most to you. Whether you’re new to scrapbooking or have some experience, it’s easy and fun once you break it into steps. Start by gathering your materials—an album, photos, glue, and any decorations that inspire you.
As you organize your photos, think about how you want to display them. You can choose a specific theme or just let the photos tell their own story. Don’t forget to add personal touches like journaling, quotes, or mementos to make your scrapbook even more meaningful.
Remember, scrapbooking doesn’t need to be stressful. It’s all about having fun and creating something that reflects your unique style and memories. Whether it takes a few weeks or several months, the most important thing is that you enjoy the process.
In the end, you’ll have a beautiful, personal album to keep for years, and it will become a special part of your family’s story. Happy scrapbooking!